

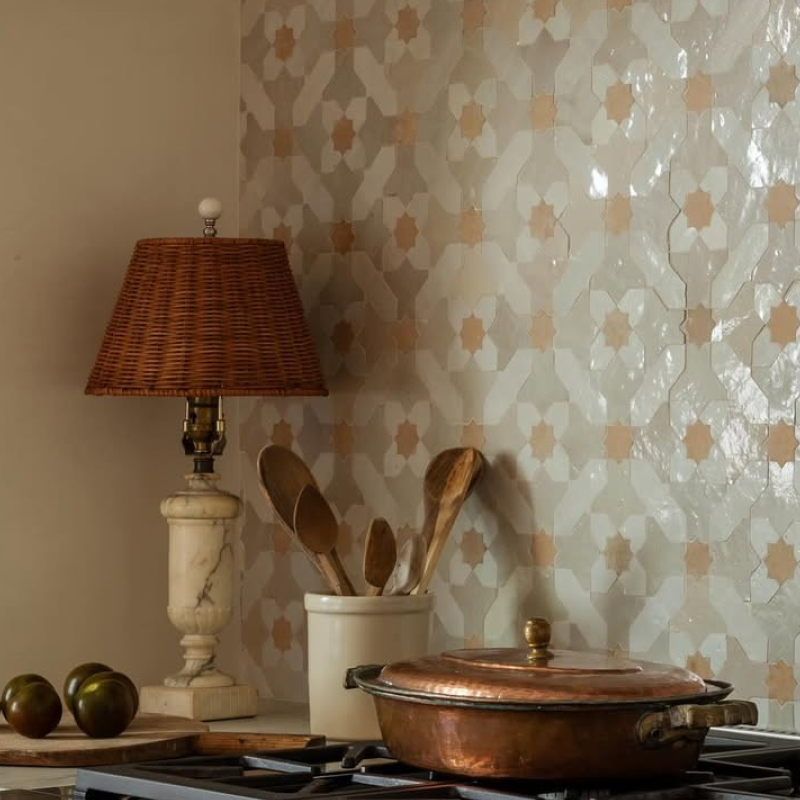
Moroccan Zellige Installation Guide
To ensure the proper installation of tiles, customers are responsible for hiring a professional installer. Tiles of Ezra is not responsible for installation, ongoing care and maintenance, or issues arising after receipt and installation of the product.
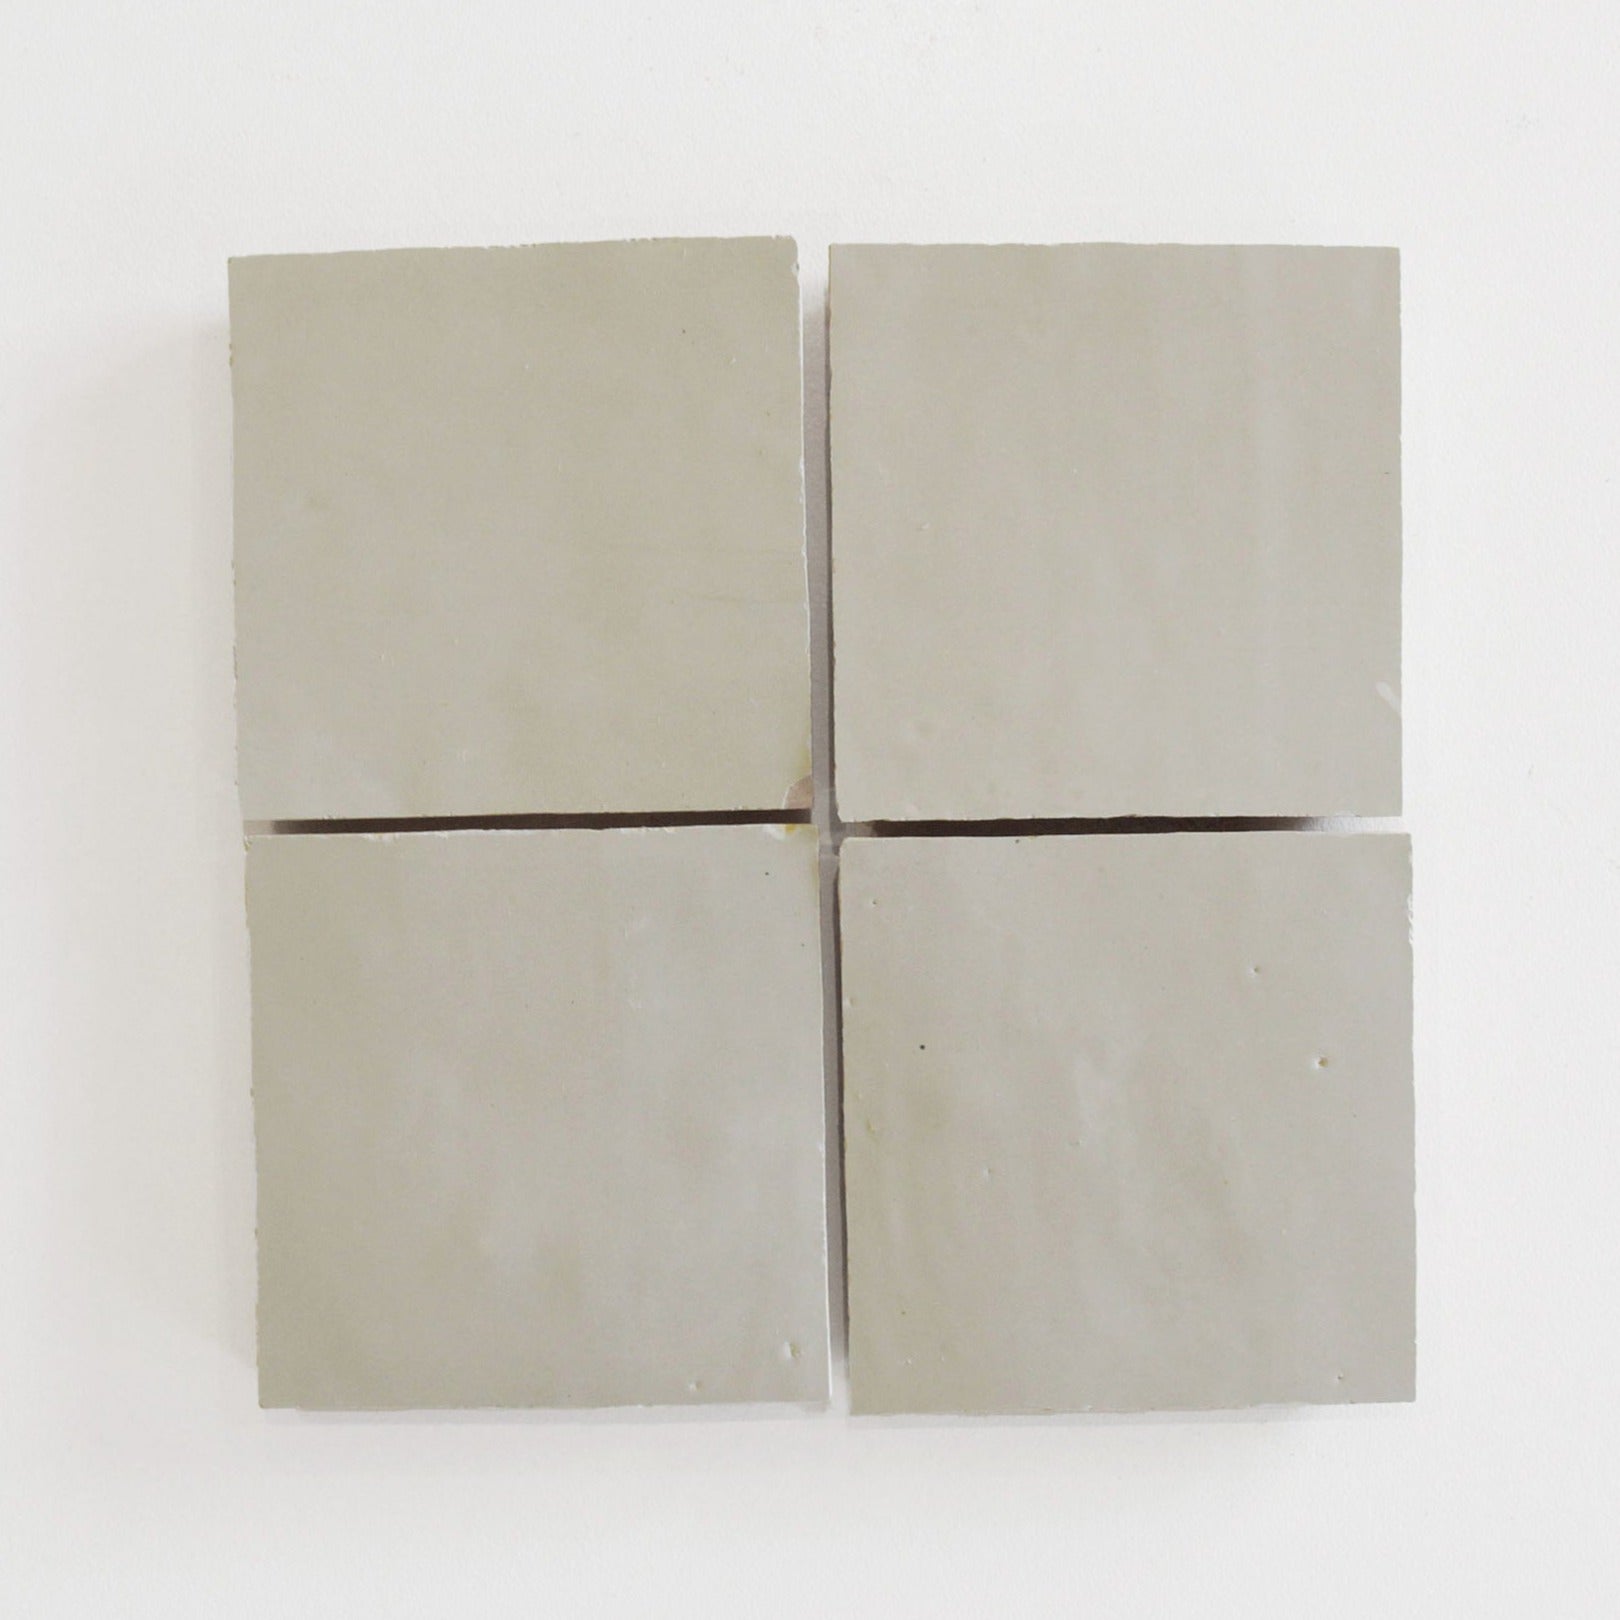
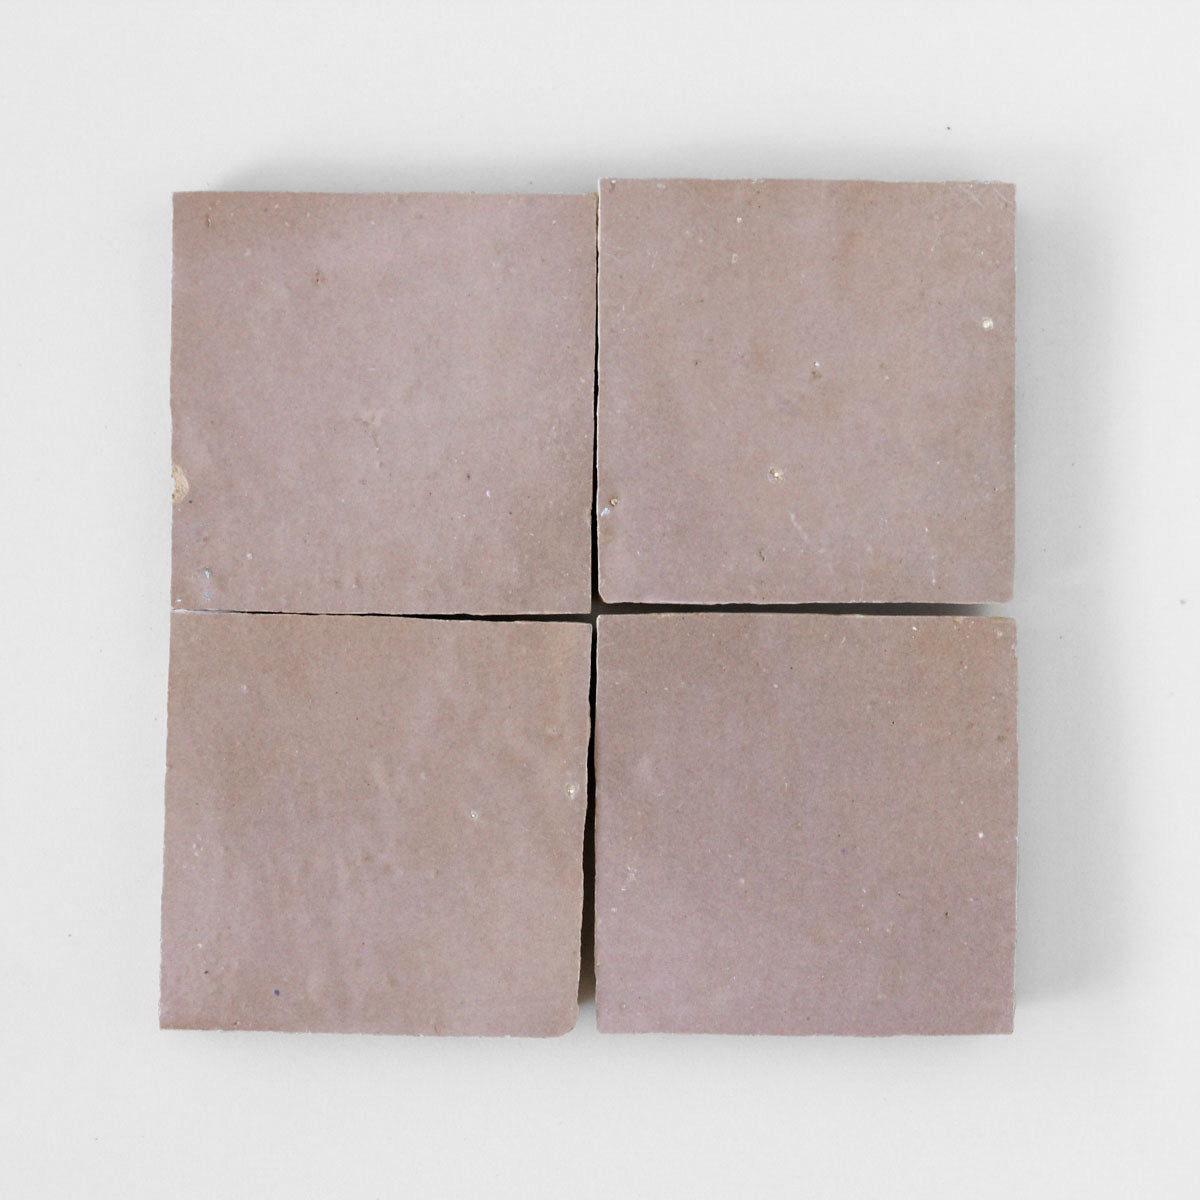
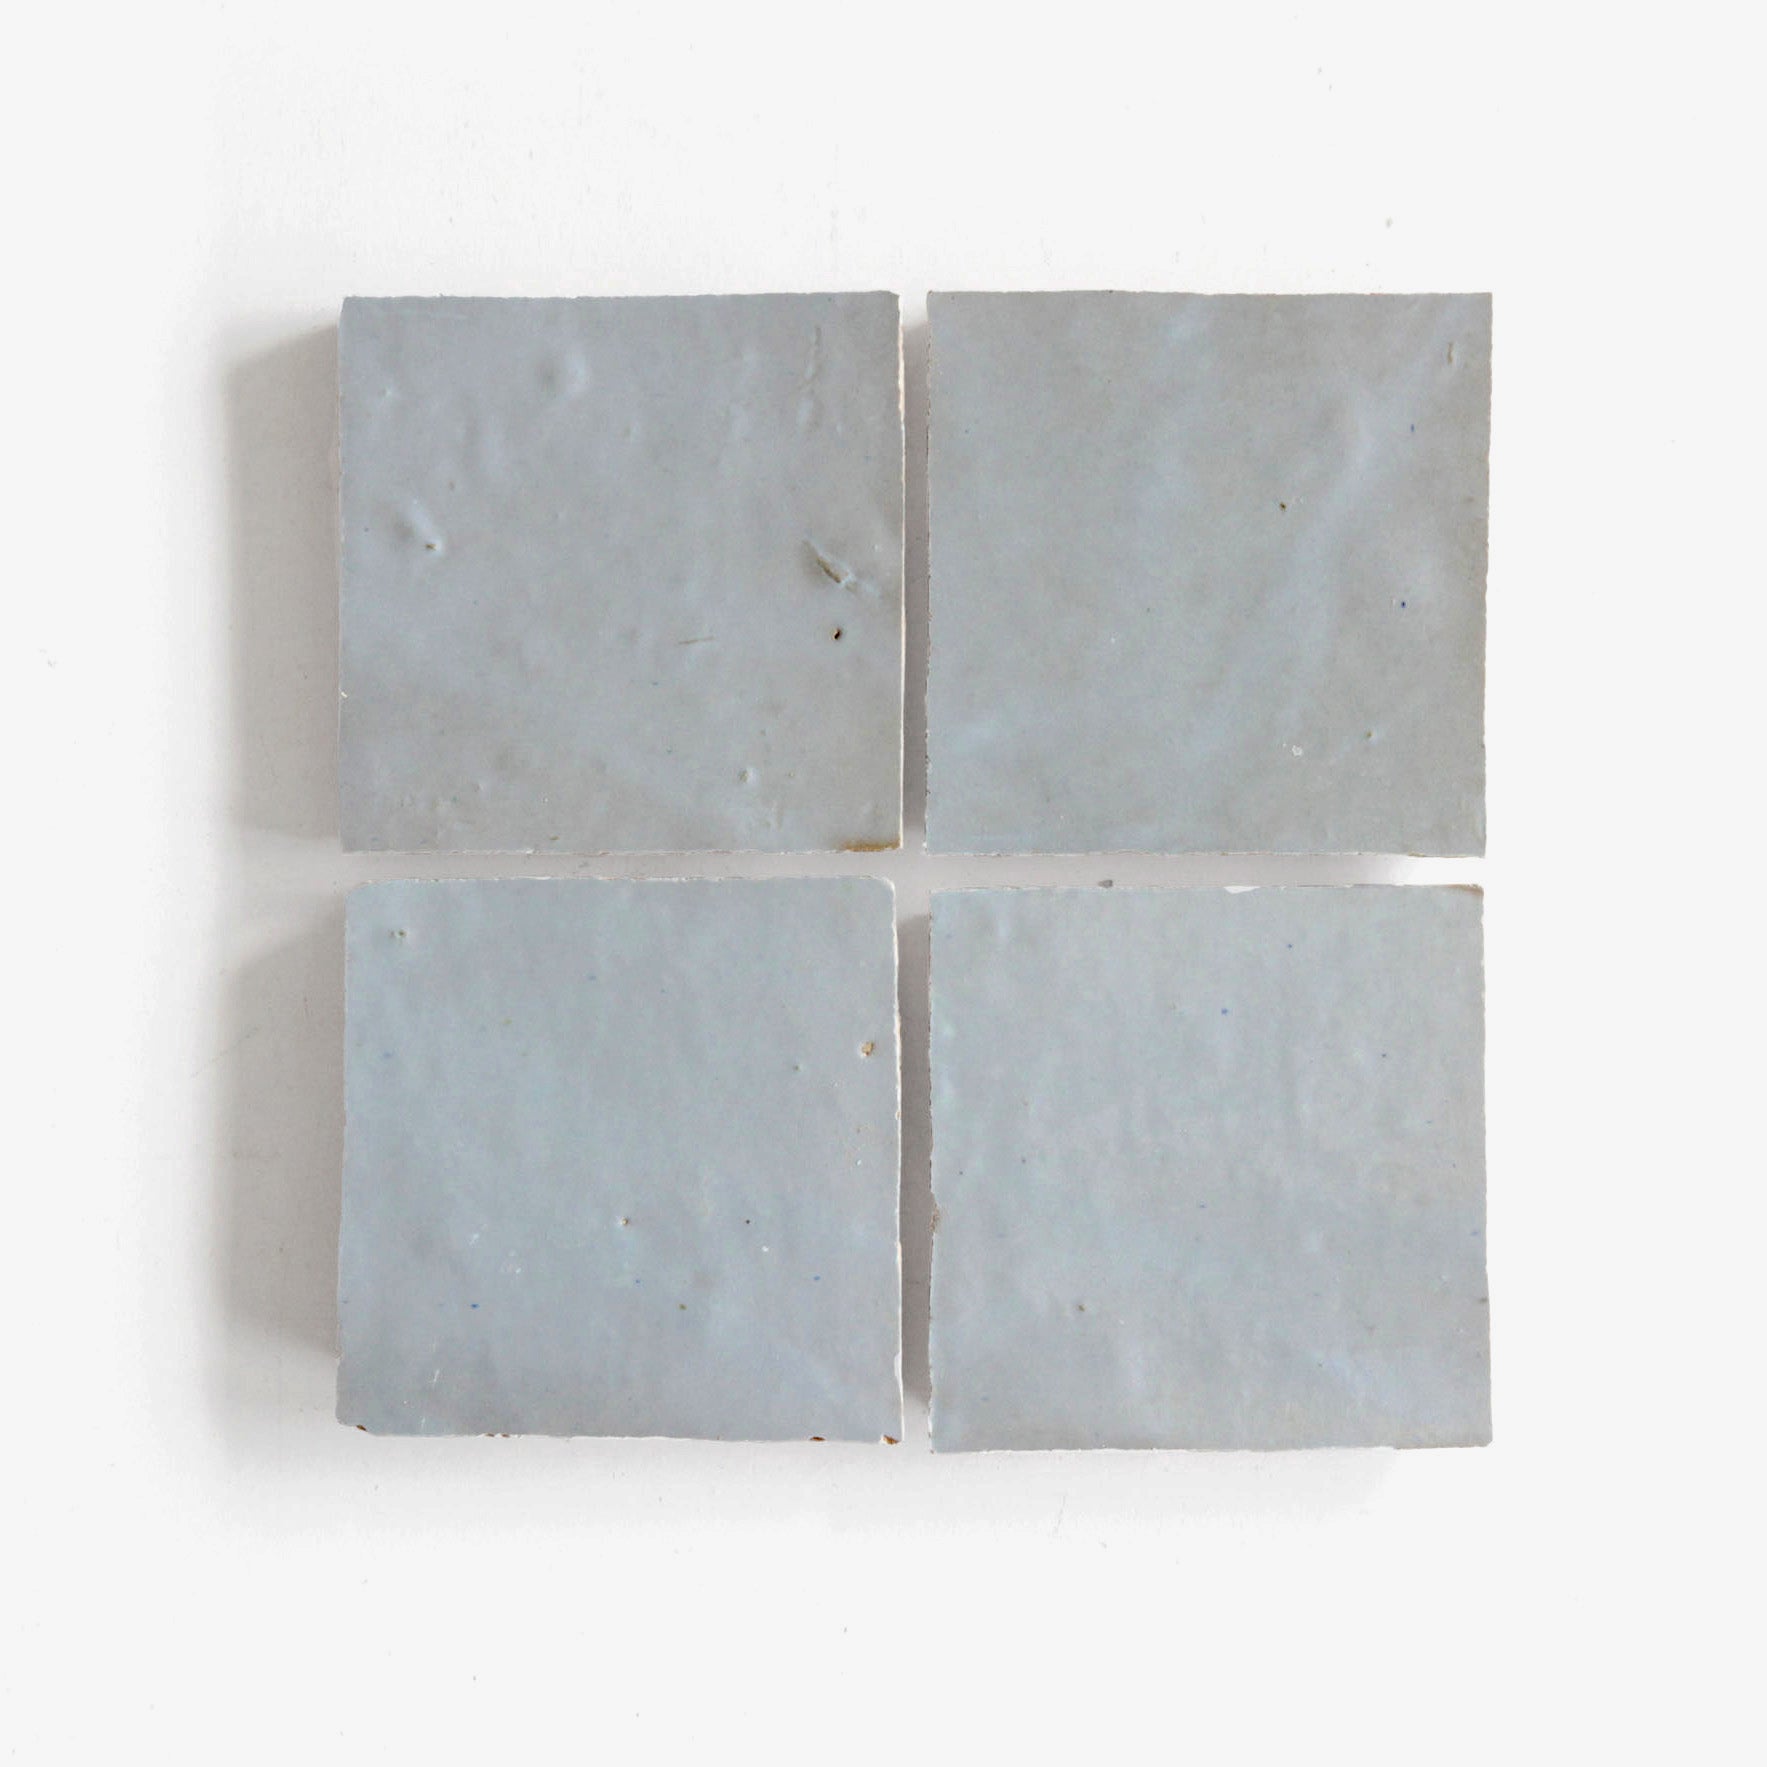
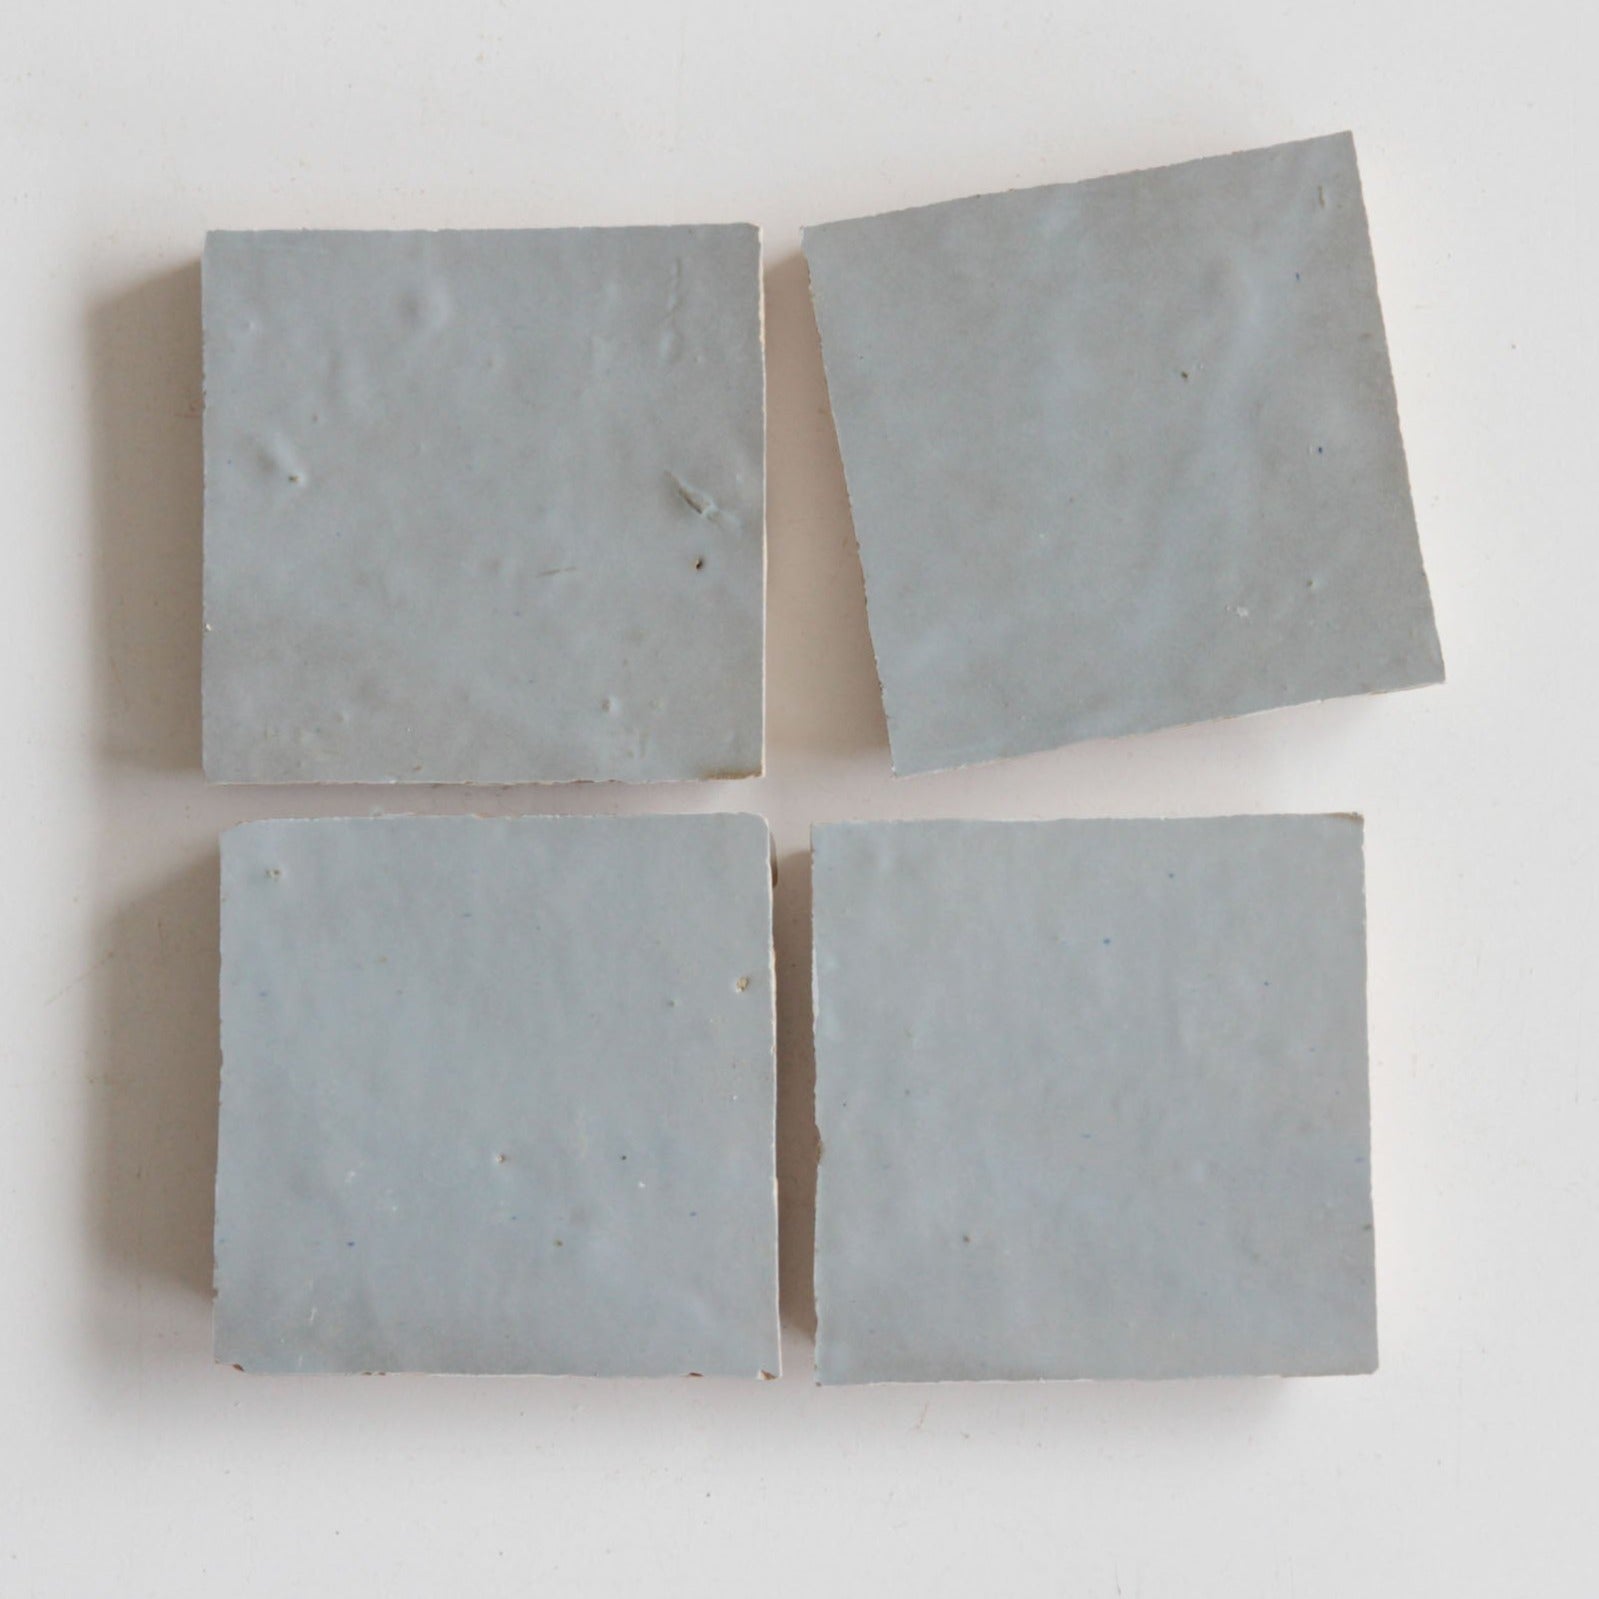
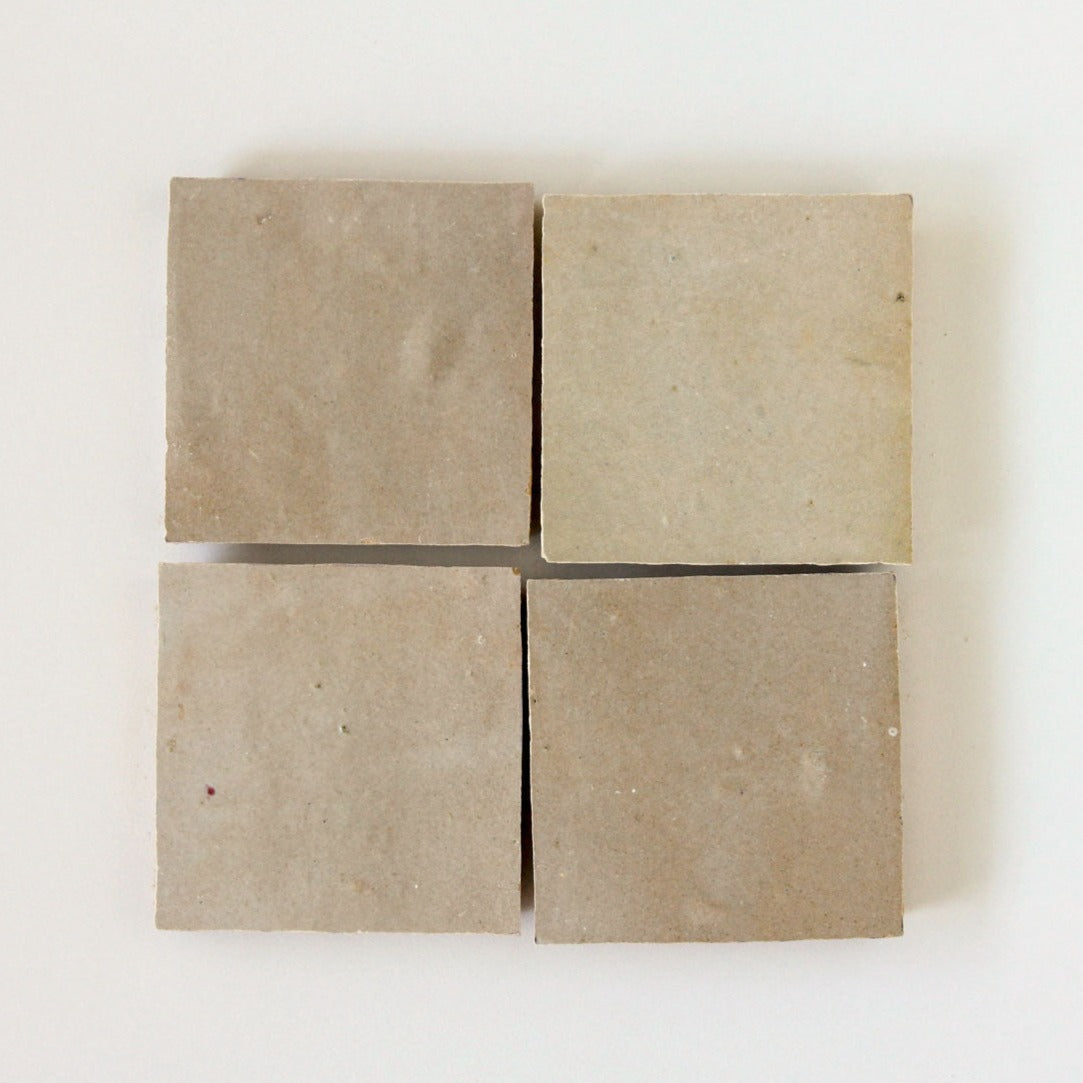
The authentic methods of Zellige tiles will result in your order including tiles with imperfections, including but not limited to: hairline cracks, dimples in the face of the tile, chips to the edges and/or the face of the tile exposing the clay beneath the glaze, uneven thickness, ink or fingerprints on the glaze surface, and variation in tone and size. When blended by your installer, these imperfections will give your installation the look of a traditional Zellige surface.
Due to the ancient Moroccan methods of making Zellige, you should expect to see variation within your order. Your sample tile(s) may not be an exact match to your purchased order, as your initial sample purchase may be produced at a different time, resulting in potential for variation in colour, shape and sizing.
If you do not plan to work with these inherent Zellige characteristics and then you should choose a more uniform tile type for your design aesthetic and installation needs.
Review your order
Upon receiving your order, please inspect thoroughly. Tiles of Ezra will not be held responsible for tiles that have already been installed.
Each piece of Zellige is made by hand. Extreme variations in colour, shape and thickness are to be expected. Irregular edges, chips, pits and small hairline cracks are common and to be expected. This forms part of the traditional aesthetic of Zellige installation.
Traditional Zellige tiles will have approximately 10-15% of these perfect imperfections. If you are after a more uniform look, we suggest increasing your order size by 15-20% to reduce the amount of variation during installation. If the Zellige tiles with these chips and pits are discarded, your install will lose the feel of an authentic
Zellige installation. It is also important to note that the grout will fill these pits and chips to blend the overall aesthetic. Please note, you may also see some ink marks on the surface and sides of your tile, which is an indication of the hand made process. You may wish to swap these out using the overage tiles ordered.
When ordering please allow consideration for inherent variation and potential breakage in transit. It strongly recommended that all orders include a minimum of 10-20% overage to avoid costly extras and potential schedule delays.
Before you install
Dust and residue on the tiles are typical. Tiles should be cleaned prior to beginning your installation (front and back). Use of a brush, or a damp cloth to remove loose dust and residue is suggested for the adhesive to bond correctly. DO NOT soak Unglazed Clay Zellige, as soaking unglazed tiles can lead to adhesion problems and efflorescence that is difficult to remove.
Due to the colour variation of Zellige, it is very important to blend the tiles from all boxes in your order. You should then lay out all tiles in the installation area to ensure any variation is evenly distributed before beginning your installation as this will avoid colour blocking. Both customer and installer should be active participants in the Zellige layout to select colour tones, and optimal variation prior to installation. Clear communication with your installer is crucial to the success of achieving a traditional Zellige aesthetic.
Achieving the traditional Zellige aesthetic, try to work with chips and pits and remember that grout will fill these perfect imperfections, giving you a more authentic installation.
For installing our pre-assembled mosaic sheets, these are created to fit together like a jigsaw, however, being a handmade product, each piece is unique. As such, we suggest you lay out your mosaics prior to installation and play around with the orientation of each piece to find which sheets work best together as these will vary, and everyone’s preferences are different. It is not unusual or an indication of product defect to have varying gaps between joins. Once laid and installed with a complimentary grout colour, these joins are not noticeable. Some clients choose to have their installer manipulate the mosaic edges with a sander or an angle grinder to achieve a very snug fit—but keep in mind the beauty of Zellige is in the imperfections, so this is not a mandatory step for installation, merely personal preference and can be achieved should the client desire.
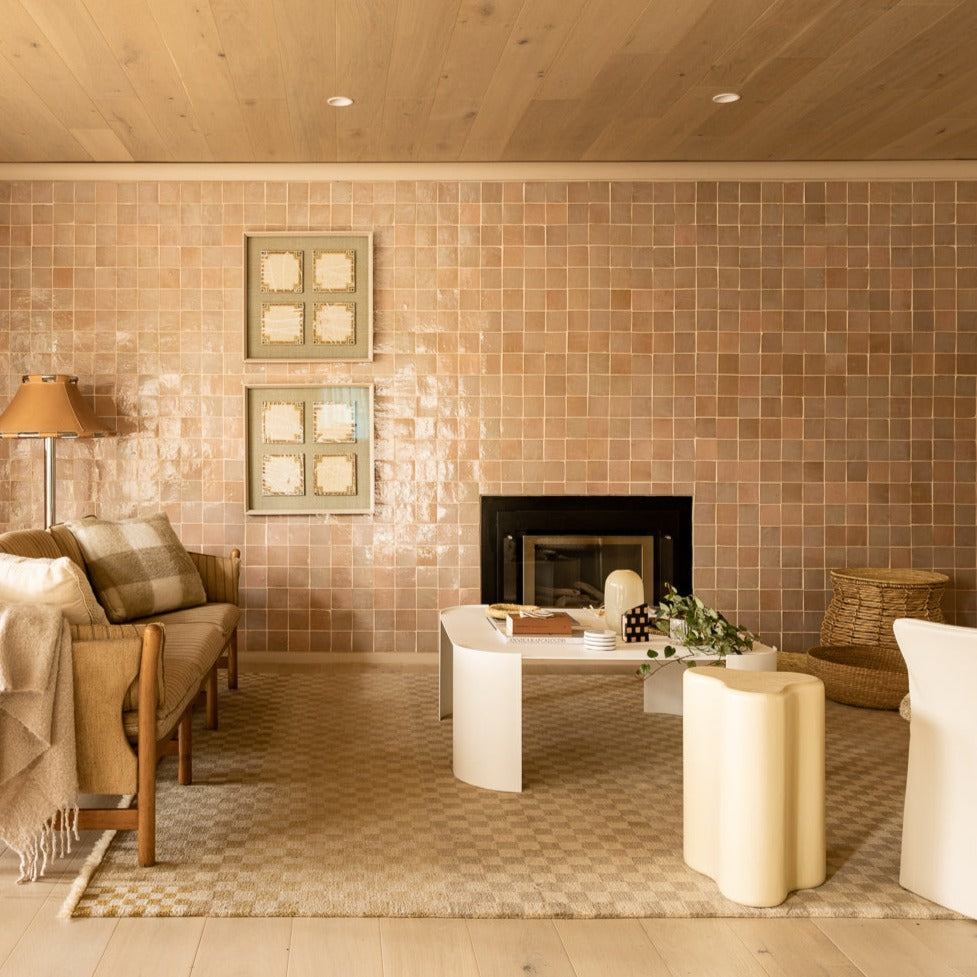
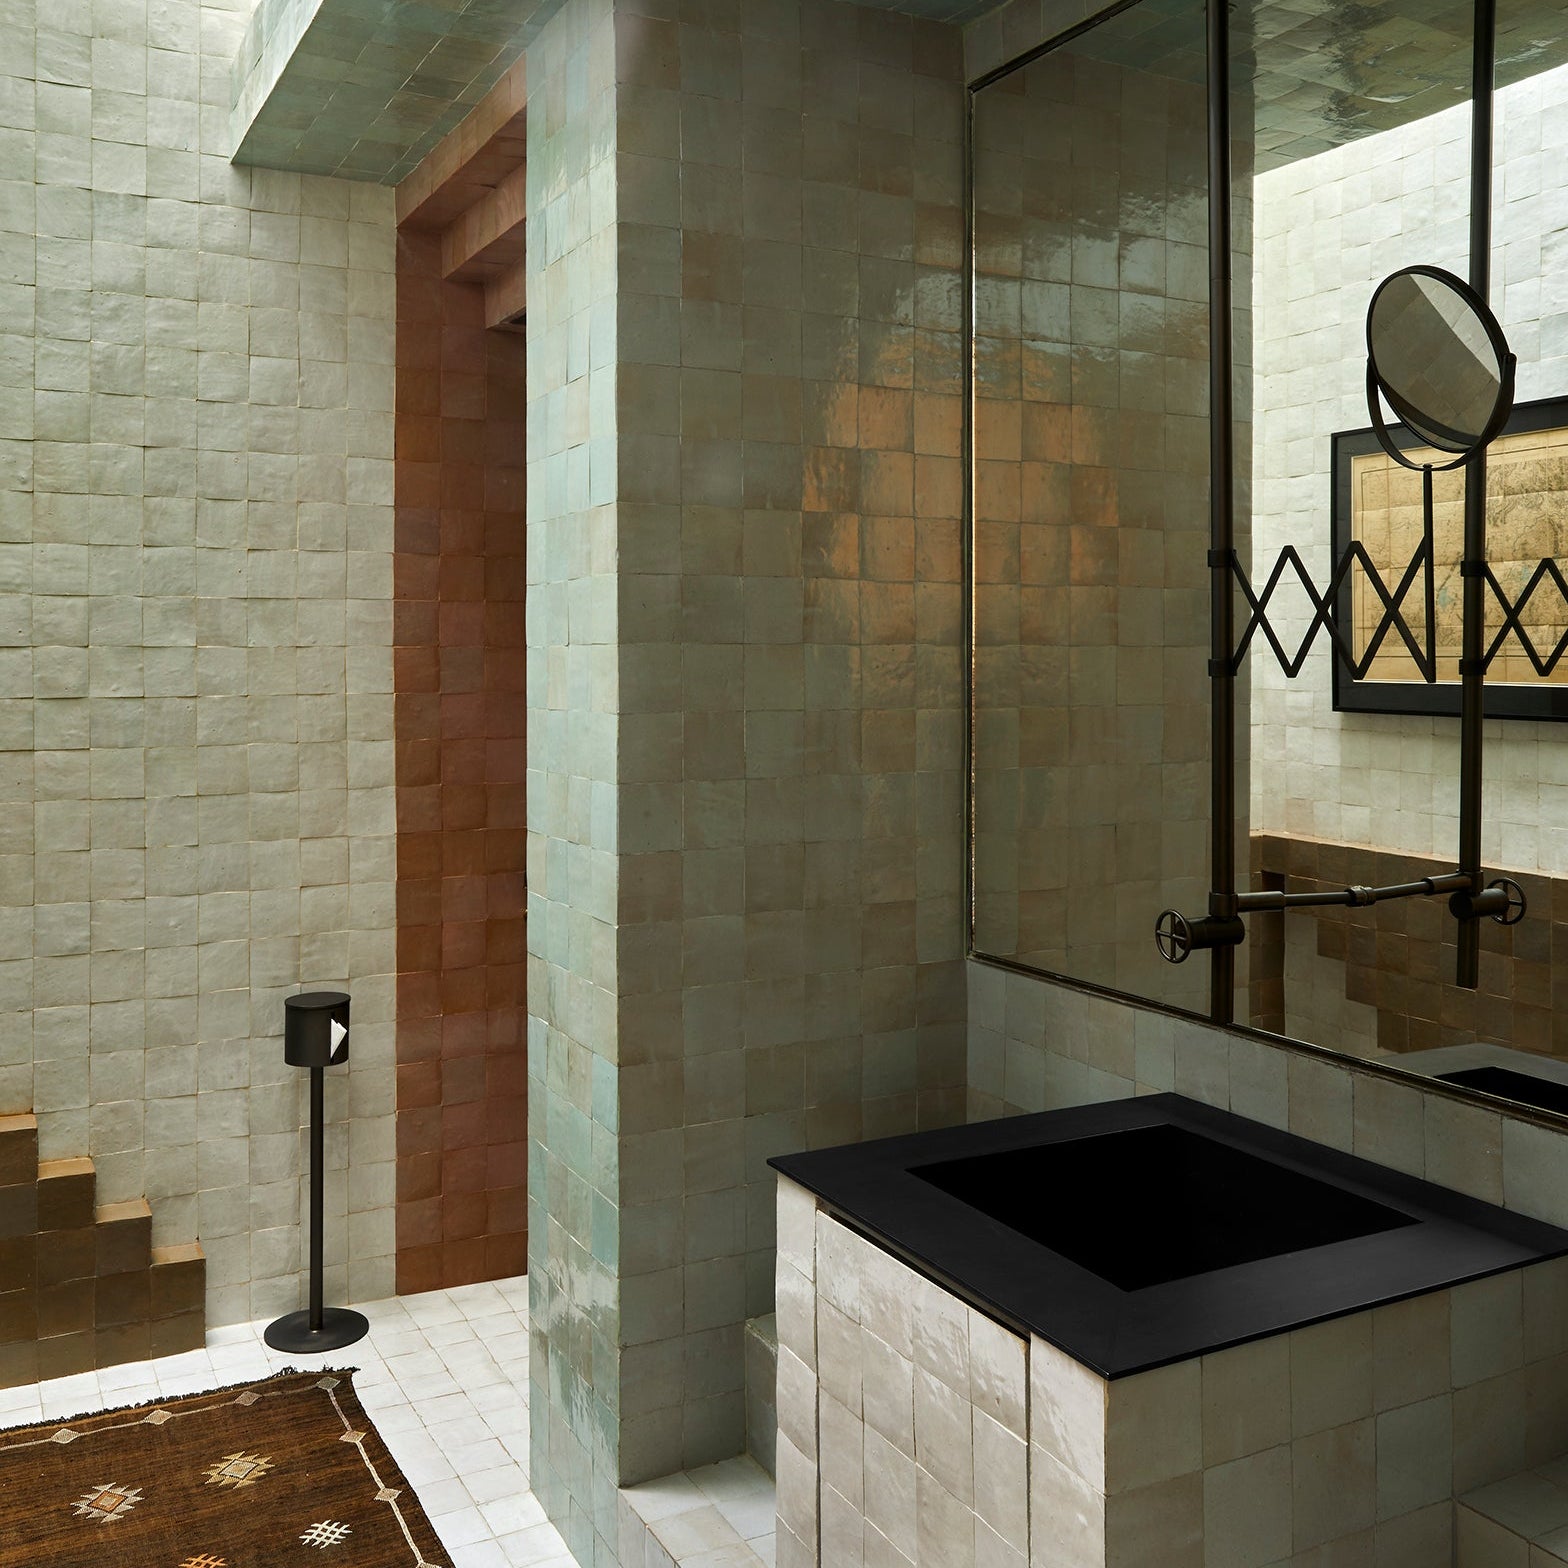
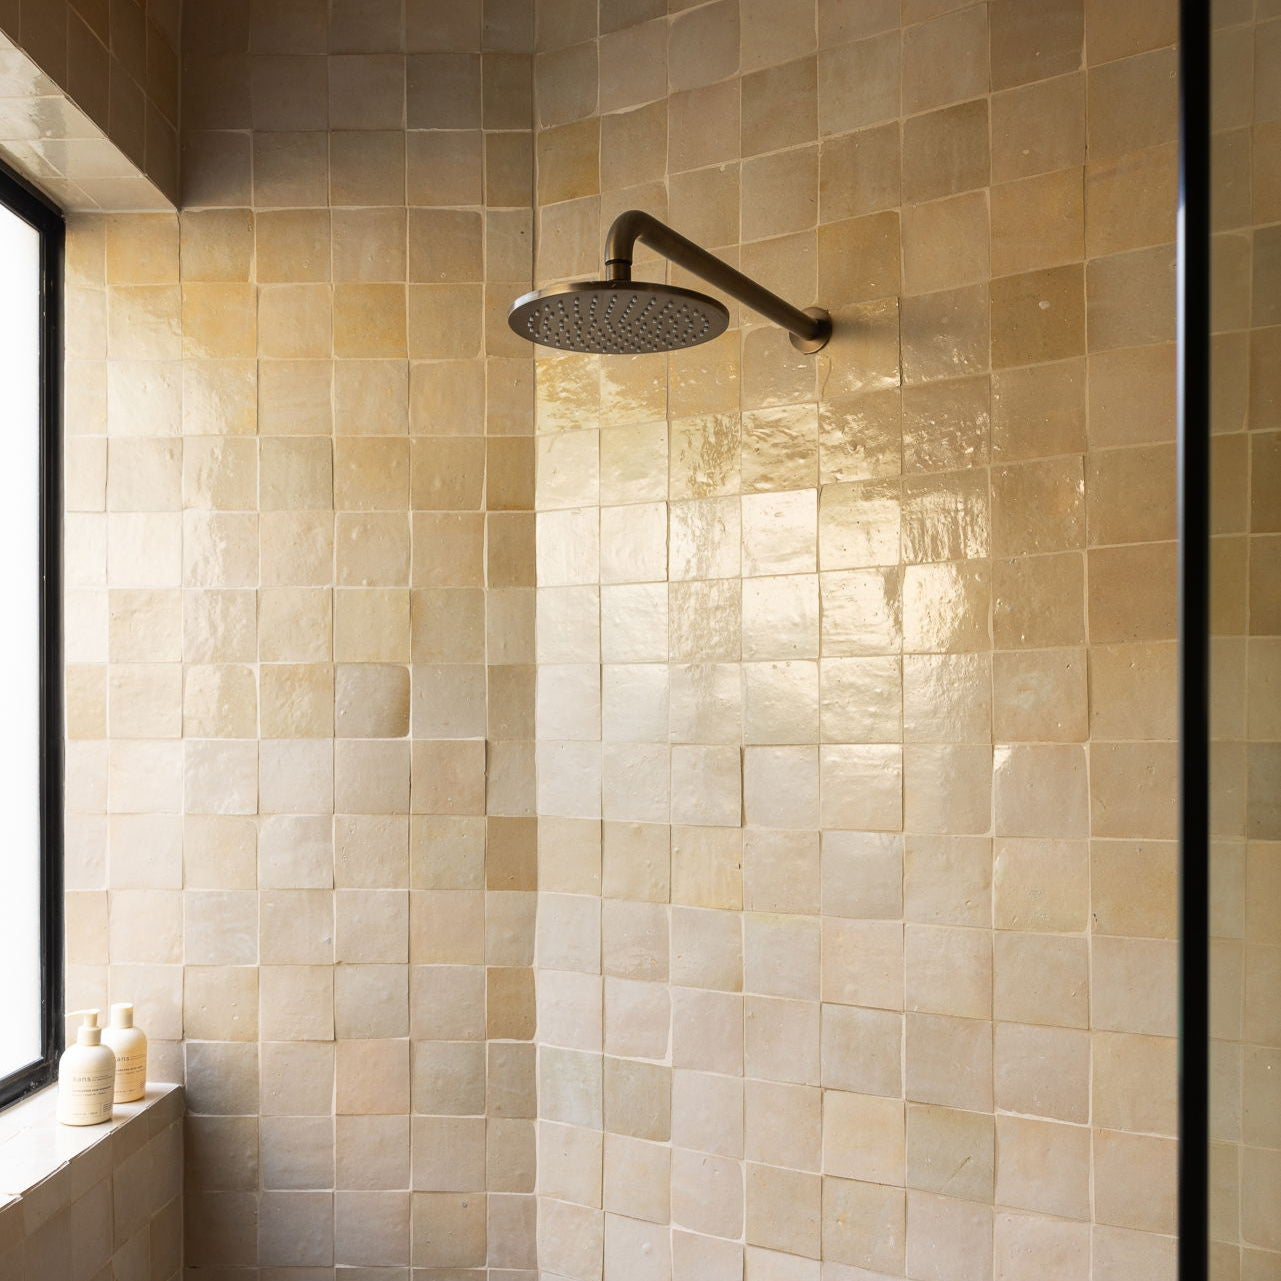
It is important to note that lighting can drastically affect the overall look of Zellige tiles. The more direct natural light you have, the brighter and glossier the tiles will look, and the darker or more shadowed your space is, the darker and more matte your tiles will look. For this reason, we always recommend viewing a sample in the intended installation space if possible, prior to ordering so that you can accurately understand the finished outcome.
Careful consideration should be given to the choice of grout colour, and the sizing of grout spaces. Explore neutral colour grouts from reputable brands such as Kerakoll, Mapei, Laticrete or Ardex. It is essential that you communicate with your professional installer about the intended outcome prior to beginning your installation. It can be helpful to provide reference imagery of your desired outcome to your installer. You can explore grout colour samples on site with your professional installer, and it is recommended you complete a test patch of grout to ensure you are satisfied with the chosen colour before applying to the entire installation.
Installation
Sealing Zellige tiles:
Glazed tiles do not require sealant.
For unglazed tiles, we recommend a minimum of two coats of sealant to be applied before installation, and one coat to be applied after grouting, once the surface is thoroughly clean and prepared.
A great impregnating sealant will protect your porous tiles from damage, water and oil absorption. We recommend a water based penetrating sealant that provides a protective coating to the tiles without changing the colour or texture and will ensure the longevity of the tile’s appearance and significantly reduce the risk of staining.
The following products are examples of recommended sealants:
• Guard Industry TDS-2140 Protect Guard MG • Dry Treat Stain-Proof • Meta Crème and Stain Proof Plus,
• Miracle Sealants 511 Porous Plus penetrating sealer
Apply sealer in accordance with manufacturer’s instructions. We recommend using a paint brush or roller to apply (not a spray) to ensure an even and consistent coverage of product.
Consult a professional contractor and/or product technician for your specific project needs before purchase and installation.
Please note, any inclusion of Unglazed Clay pieces in your pre-assembled Zellige mosaics will also require sealant.
Laying tiles
If cuts are required for your installation, ensure a professional installer utilises a waterjet tile cutter or angle grinder for the best result.
Ensure the tiling substrate is well prepared and levelled by a professional before placing the Zellige tiles.
Our clients and tilers have had great success using the following adhesive brands:
• MAPEI • Kerakoll • Ardex • Laticrete
Consult with your builder, installer or local adhesive specialist for an adhesive recommendation specific to your project needs prior to purchase and installation.
Evenly apply adhesive mixture to the install surface using a trowel. Butter the back of each tile with another layer of mixture making sure to apply the mixture in the same direction in order to prevent air pockets from forming. For a more level installation, use alternating quantities of adhesive on the back of the tiles to allow for depth variation. Tiles should be levelled as they are placed. Authentic Zellige installation features a naturally undulating surface. Discuss with your installer your desired aesthetic prior to installation.
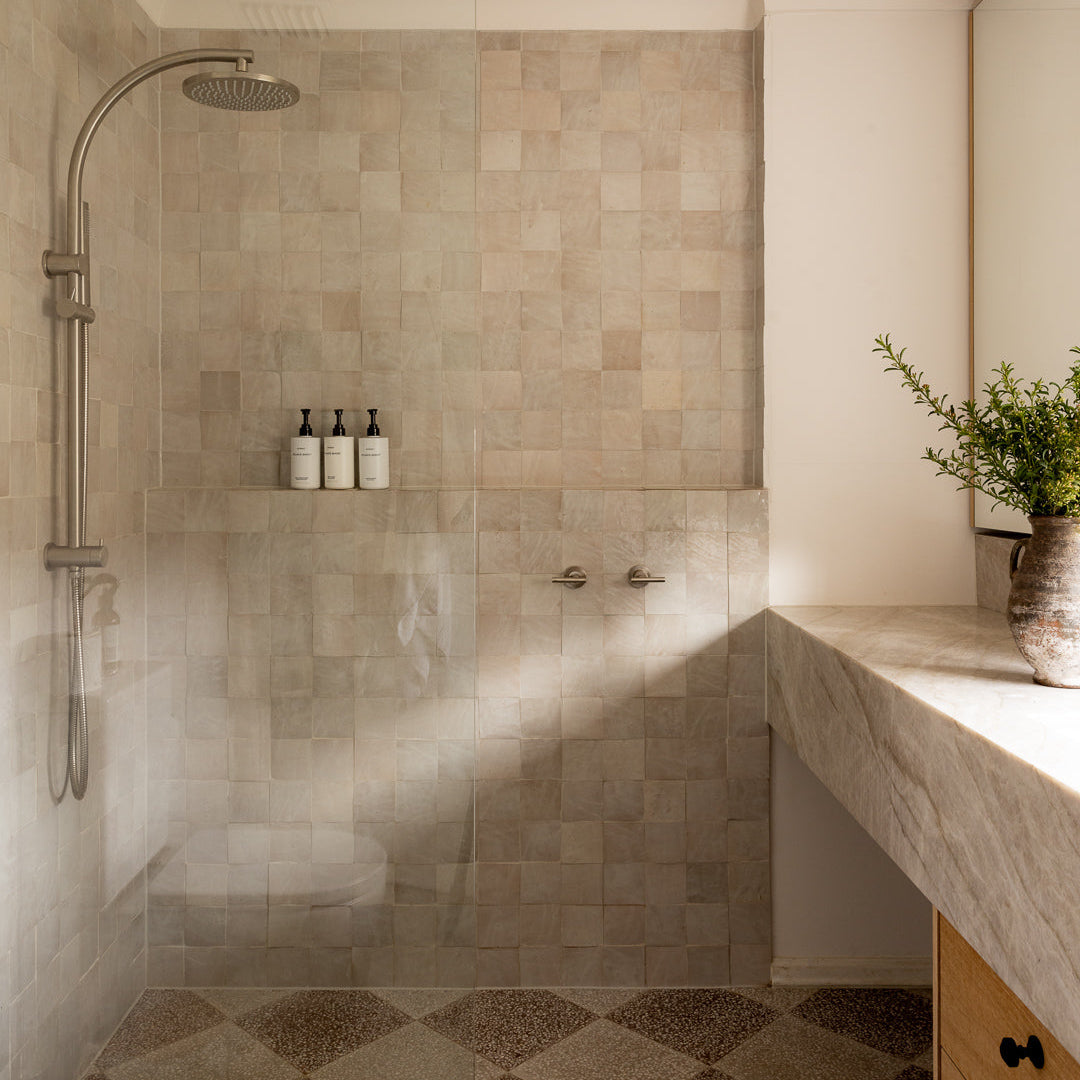
Zellige tiles can be spaced in several ways based on design and client’s preference. The traditional (and recommended) method for installation does not use standard grout joints; tiles are instead laid edge to edge OR with a 1-3mm grout space, or at a space preferred by designer and client. Due to the inherent variation in Zellige tile sizing, it’s recommended to level with wedge spacers to align tiles during installation.
Installing Zellige in wet areas
If installing tiles in a wet area, slip resistance can be increased by increasing grout joint size, or installing using a staggered or herringbone layout, and/or applying an anti-slip product after installation is complete. We recommend consulting and engaging a professional contractor for your specific project needs before installation.
Grouting
We always recommend the use of grout, and not dry stacking (not using grout). The use of grout protects edges, ties the install together forming a cohesive, aesthetically appealing design, and protects against water ingress if used in a wet area, and dirt and debris ingress in all other areas. You may wish to consider using epoxy grout in wet area applications.
The use of grout will fill in all spaces, gaps and any surface pits, chips, cracks and imperfections. Our clients and tilers have had great success using the following grout brands:
• MAPEI • Kerakoll • Ardex • Laticrete
Consult with your installer or local grout specialist for a grout recommendation specific to your installation.
It is very important to carefully remove the excess grout with a damp sponge. Do not leave any grout to dry on the surface of Zellige tile as it is very difficult to remove after the grout has fully cured.
We recommend consulting and engaging a professional contractor for your specific project needs before installation.
Final coat sealing - For unglazed Zellige tiles only
Tiles are to be completely clean and dry. The removal of any residual grout, dust, spills, drops, drips or footprints to be removed before final coat of sealing.
Do not over-seal as thick or excessive application of sealant can dry unevenly and result in an undesirable surface on the tile. Allow sealer to cure, typically 1-2 days before using the space.
We recommend consulting and engaging a professional contractor for your specific project needs before installation.
Re-sealing
Unglazed Zellige and use of Zellige in wet areas should be re-sealed at least every 1-3 years, or as often as needed depending on traffic and wear. For areas exposed to moisture, you may need to re-seal more often.
For low traffic installation zones such as places with low exposure to soaps, oils, liquids etc, which may include fireplace surrounds, high walls etc, these areas can last up to 10 years before needing to be resealed.
For high traffic installation zones such as places with heavy exposure to soaps, oils, liquids etc, which may include splashbacks, shower floors, front entrances, kitchen floors etc, we recommend you re-seal these areas every 12-24 months or as required.
Always re-seal in accordance with sealant manufacturer’s instructions.
Cleaning and Maintenance
Once installed and over periods of time Zellige tiles can wear like a natural stone product, which is part of the appeal of authentic Zellige tile. Customers should expect natural wear, fine lines on the tile surface, and patina to occur to the finish over time.
It is suggested you vacuum or sweep tiles regularly to remove abrasive material that can scratch the surface. Glazed Zellige may be cleaned like most types of glazed ceramic tiles. Neutral pH products are recommended for cleaning.
As you do on all natural finishes, promptly clean up any spills, especially oils, sauces, wines and grease on unglazed Zellige. Un-cleaned spills can cause staining. Stains on unsealed unglazed Zellige may be permanent so it is important to follow the sealing process and expect patina, natural aging, and wear of unglazed Zellige over time.
For cleaning and maintenance purposes, you can use mild soapy water, or see below suggestions of pH neutral cleaners:
• Miracle Sealants Heavy Duty Cleaner (Acid Substitute) • Dry Treat Rejuvanata Active • Guard Industry Guard Cleaner Eco: Soiled Floors
Use of acidic & alkaline cleaners and abrasive cleaning tools may damage Moroccan Zellige tiles and should be avoided.
EXPLORE THE FULL
MOROCCAN ZELLIGE COLLECTION




Still Have Questions?
We’re here to help you navigate the details. Whether you’re exploring our ranges, comparing finishes, or seeking guidance on which tile best suits your space, our team is here to share the knowledge and confidence you need to decide.