

Nusa Installation Guide
To ensure the correct installation of Nusa tiles, customers are responsible for engaging a qualified professional installer. Tiles of Ezra is not responsible for installation, surface preparation, ongoing care, or any issues that arise after receipt or installation of the product.
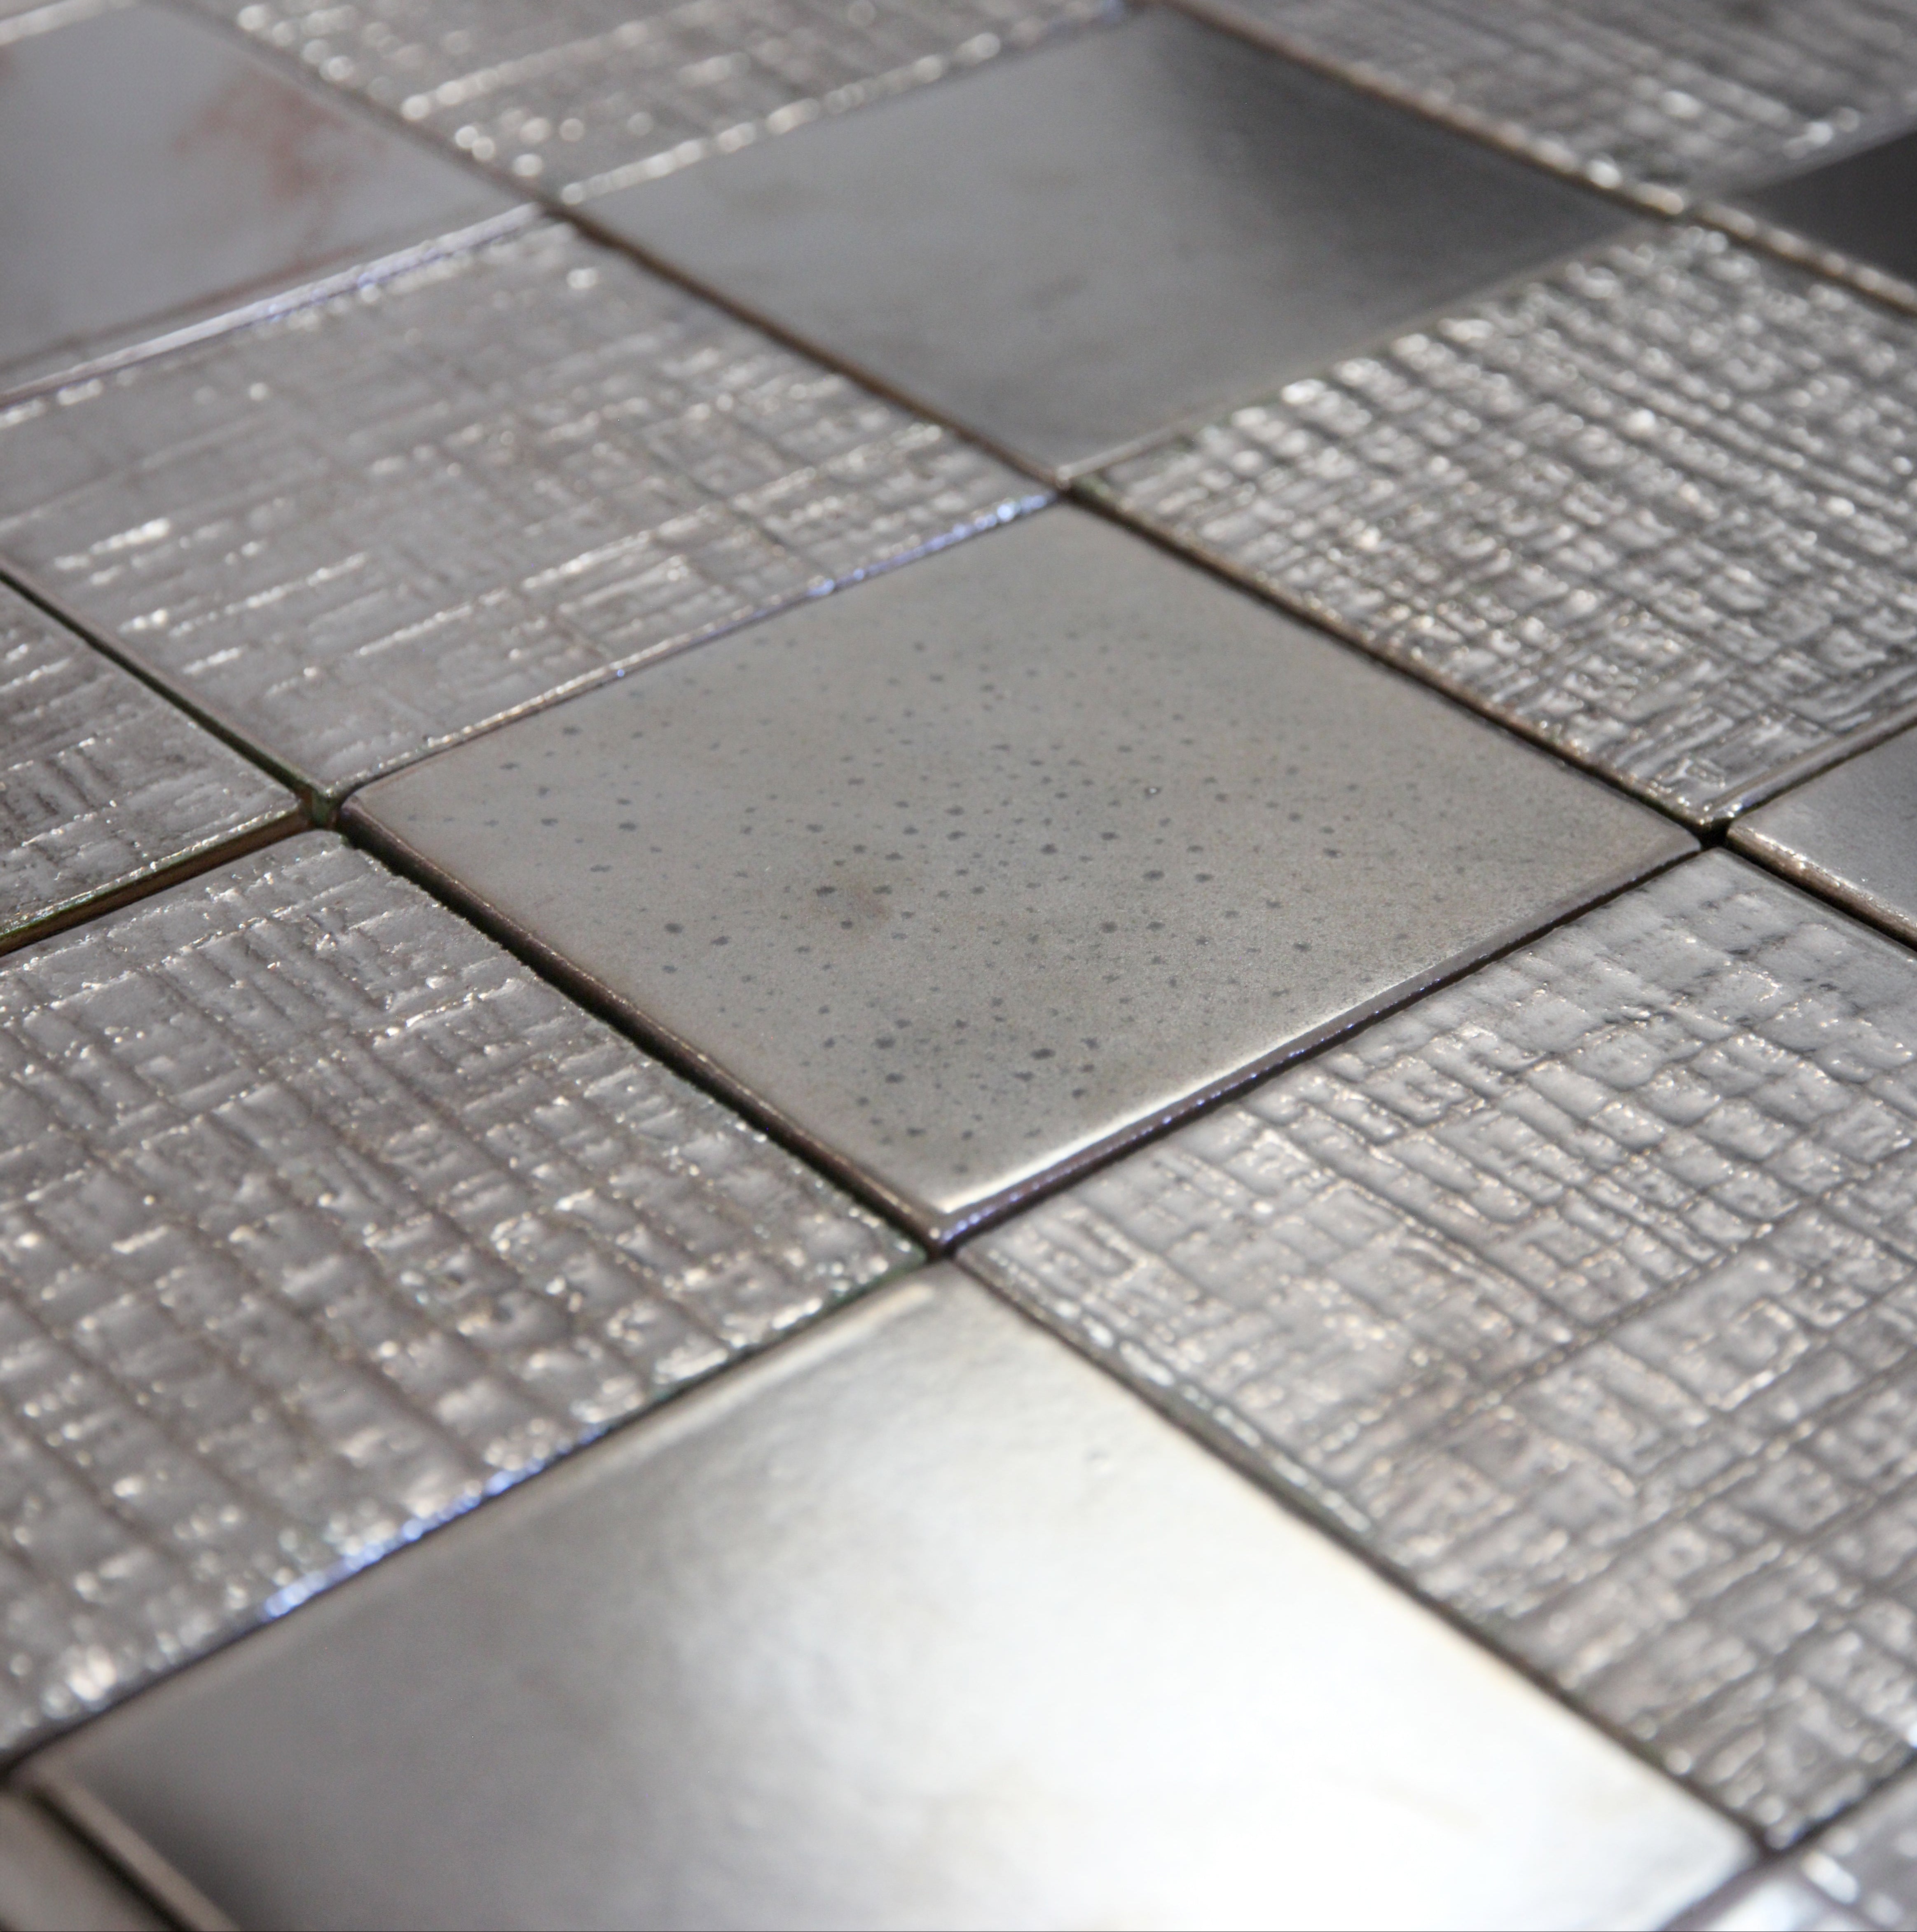
The Nusa Collection consists of artisan-made glazed tiles produced using traditional hand-forming and firing methods, as well as contemporary recycled-material processes. Because each tile is crafted by hand, natural variation in tone, texture, thickness, brushwork, and pattern is expected and contributes to the character of the finished installation.
Your sample tiles may not be an exact match to your purchased order due to batch variation and the handcrafted nature of the material.
If you prefer extremely uniform tiles with machine-perfect surfaces, edges, and colour consistency, a highly industrial product may be more suitable for your design aesthetic and installation needs.
Review your order
Upon receiving your order, please inspect all boxes carefully. Tiles of Ezra cannot accept responsibility for tiles that have already been installed.
Due to handmade methods, you can expect:
- Variation in colour, shade, and glaze expression
- Subtle differences in thickness or sizing
- Slight surface undulations, texture, or relief
- Organic edges, chips, or cracks to the tiles surface
- Tonal movement across tiles and batches
These features are intentional and form the essence of the Nusa aesthetic.
We recommend ordering 10–20% additional tiles to allow for cuts, blending, and layout adjustments.
Before you install
Surface preparation
Good substrate preparation is crucial:
- The surface must be clean, dry, sound, flat, and free of contaminants.
- Correct any unevenness before installation.
- Ensure all waterproofing in wet areas or submerged areas is completed by a licensed professional.
Dust and residue on the tiles are typical. Tiles should be cleaned prior to beginning your installation (front and back). Use of a brush, or a damp cloth to remove loose dust and residue is suggested for the adhesive to bond correctly. DO NOT soak Nusa tiles, as soaking tiles can lead to adhesion problems and efflorescence that is difficult to remove.
Due to the colour variation of Nusa tiles, it is very important to blend the tiles from all boxes in your order. You should then lay out all tiles in the installation area to ensure any variation is evenly distributed before beginning your installation as this will avoid colour blocking. Both customer and installer should be active participants
in the tile layout to select colour tones, and optimal variation prior to installation. Clear communication with your installer is crucial to the success of achieving a traditional handmade aesthetic.
It is important to note that lighting can drastically affect the overall look of Nusa tiles. The more direct natural light you have, the brighter and glossier the tiles will look, and the darker or more shadowed your space is, the darker and more matte your tiles will look. For this reason, we always recommend viewing a sample in the intended installation space if possible, prior to ordering so that you can accurately understand the finished outcome.
Careful consideration should be given to the choice of grout colour, and the sizing of grout spaces. Explore neutral colour grouts from reputable brands such as Kerakoll, Mapei, Laticrete or Ardex. It is essential that you communicate with your professional installer about the intended outcome prior to beginning your installation. It can be helpful to provide reference imagery of your desired outcome to your installer. You can explore grout colour samples on site with your professional installer, and it is recommended you complete a test patch of grout to ensure you are satisfied with the chosen colour before applying to the entire installation.
Installation
Sealer
The Nusa collection features glazed tiles that do not require sealant.
Adhesive selection
Choose an adhesive appropriate for the environment:
- General internal areas: a quality tile adhesive suitable for glazed tiles
- Wet areas / showers: a waterproof, mould-resistant adhesive
- Exteriors: adhesives designed for outdoor and UV conditions
- Pools, fountains, spas, saunas: high-performance, deformable adhesives suitable for full submersion and thermal variation
- High-heat areas (e.g., fireplaces): heat-resistant adhesive
Follow adhesive manufacturer instructions carefully.
Setting the tiles
- Apply adhesive evenly using an appropriate trowel.
- “Back-buttering” may be beneficial for optimal bond, especially with thicker handmade tiles.
- Press tiles firmly into place, ensuring full contact.
- Use tile wedges or spacers if desired to maintain consistent joints, noting natural variation in tile sizing may require adjustment.
- Work one row at a time, checking alignment regularly.
Because the tiles are handcrafted, slight adjustments during installation will help achieve the most refined finish.
Joint spacing
Joint width is a design-led decision and may vary depending on format and aesthetic.
Keep in mind:
- Slight variation in tile shape means grout lines may visually fluctuate—this is part of the handcrafted look.
- Larger joints can soften natural size variation and enhance slip resistance in wet areas.
Discuss grout joint options with your installer before installation begins.
Dry weather or hot environments
In very hot or dry conditions, adhesive may set more quickly. Your installer may lightly dampen the substrate or tile backs (without saturating them) to improve workability and prevent premature drying.
Installing in wet areas or submerged areas
Nusa tiles are suitable for showers, spas, pool surrounds, and submerged applications when installed using the correct methods.
Key considerations:
- Ensure waterproofing is completed by licensed professionals and cured according to manufacturer recommendations.
- Use adhesives and grouts specifically designed for wet or submerged areas.
- Allow full curing times before filling a pool or exposing the tiles to continuous moisture.
- Expanded joint widths or textured formats may assist with slip resistance where required.
Cutting
Artisan tiles may vary in thickness and density. For best results:
- Use a high-quality manual tile cutter, wet saw, or angle grinder with an appropriate blade.
- Cut slowly and steadily to avoid chipping the glaze.
- Always wear protective eyewear and gloves.
Grouting
Use grout suitable for the installation environment:
- Cement-based or flexible grouts for dry areas
- Waterproof or mould-resistant grouts for damp areas
- High-performance grouts for submerged installations
We always recommend the use of grout, and not dry stacking (not using grout). The use of grout protects edges, ties the install together forming a cohesive, aesthetically appealing design, and protects against water ingress if used in a wet area, and dirt and debris ingress in all other areas. You may wish to consider using epoxy grout in
wet area applications.
The use of grout will fill in all spaces, gaps and any surface pits, chips, cracks and imperfections. Our clients and tilers have had great success using the following grout brands:
• MAPEI • Kerakoll • Ardex FG 8 • Laticrete
Consult with your installer or local grout specialist for a grout recommendation specific to your installation.
It is very important to carefully remove the excess grout with a damp sponge. Do not leave any grout to dry on the surface of Nusa tile as it is very difficult to remove after the grout has fully cured.
We recommend consulting and engaging a professional contractor for your specific project needs before installation.
Final finishing
Once grouting is complete:
- Clean the surface thoroughly with clean water and a soft cloth or sponge.
- Ensure all residue is removed, especially from relief-patterned tiles.
- Allow grout to cure fully before use of the space (follow grout manufacturer guidelines).
Sealing
Nusa tiles are fully glazed and do not require sealing.
Only unglazed grout joints may benefit from a grout sealer (optional, depending on project requirements).
Metallic Glaze Care During Installation
Some Nusa tiles feature metallic glaze finishes that may show light fingerprints or handling marks during installation.
After grouting and final clean:
- Allow grout haze to be fully removed using a damp sponge.
- Once dry, gently buff the tile surface using a clean, dry microfibre cloth.
- For persistent marks, use a slightly damp microfibre cloth followed by dry buffing.
Do not use:
• Abrasive pads • Scouring sponges • Acidic cleaners • Ammonia-based cleaners
Metallic glazes respond best to gentle buff cleaning rather than heavy chemical cleaning.
Cleaning and Maintenance
Once installed and over periods of time, Nusa tiles can wear like a natural stone product, which is part of the appeal of authentic handmade tiles. Customers should expect natural wear, fine lines on the tile surface, and patina to occur to the finish over time.
It is suggested you vacuum or sweep tiles regularly to remove abrasive material that can scratch the surface. Nusa tiles may be cleaned like most types of glazed ceramic tiles. Neutral pH products are recommended for cleaning.
For cleaning and maintenance purposes, you can use mild soapy water, or see below suggestions of pH neutral cleaners:
• Miracle Sealants Heavy Duty Cleaner (Acid Substitute) • Dry Treat Rejuvanata Active • Guard Industry Guard Cleaner Eco: Soiled Floors
Use of acidic & alkaline cleaners and abrasive cleaning tools may damage Nusa tiles and should be avoided.
Disclaimer
We recommend consulting a professional contractor and/or product technician for your specific project needs before purchase and installation. Variation in tone, pattern, texture, thickness, and sizing is inherent to this handcrafted collection and is not considered a defect.
Still Have Questions?
We’re here to help you navigate the details. Whether you’re exploring our ranges, comparing finishes, or seeking guidance on which tile best suits your space, our team is here to share the knowledge and confidence you need to decide.